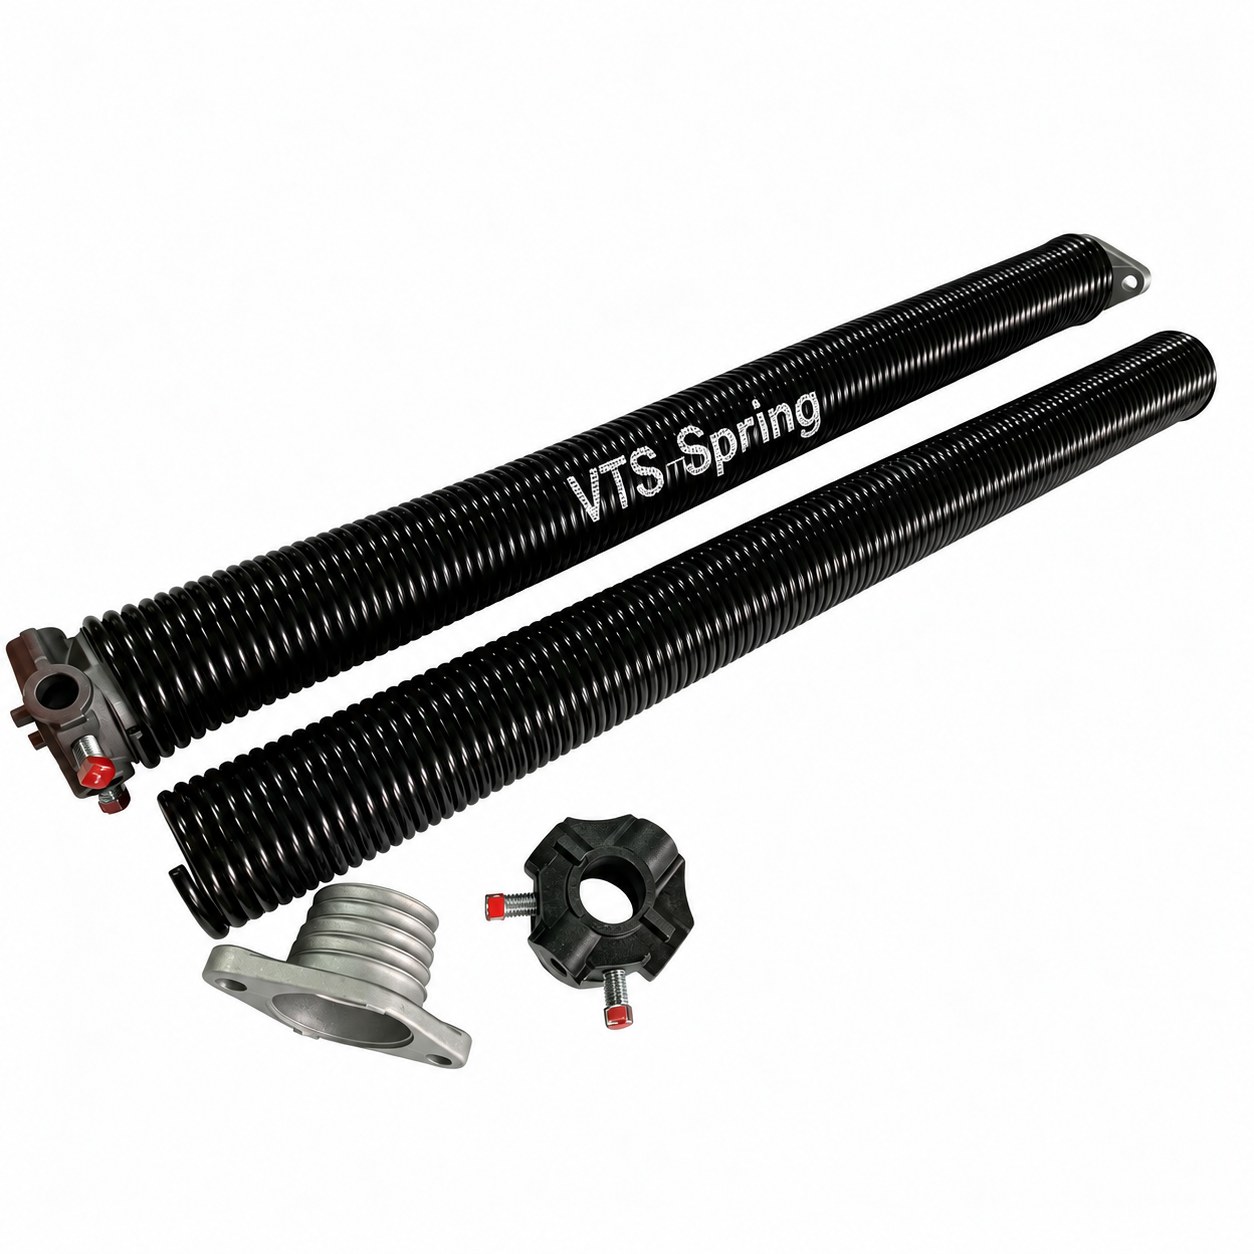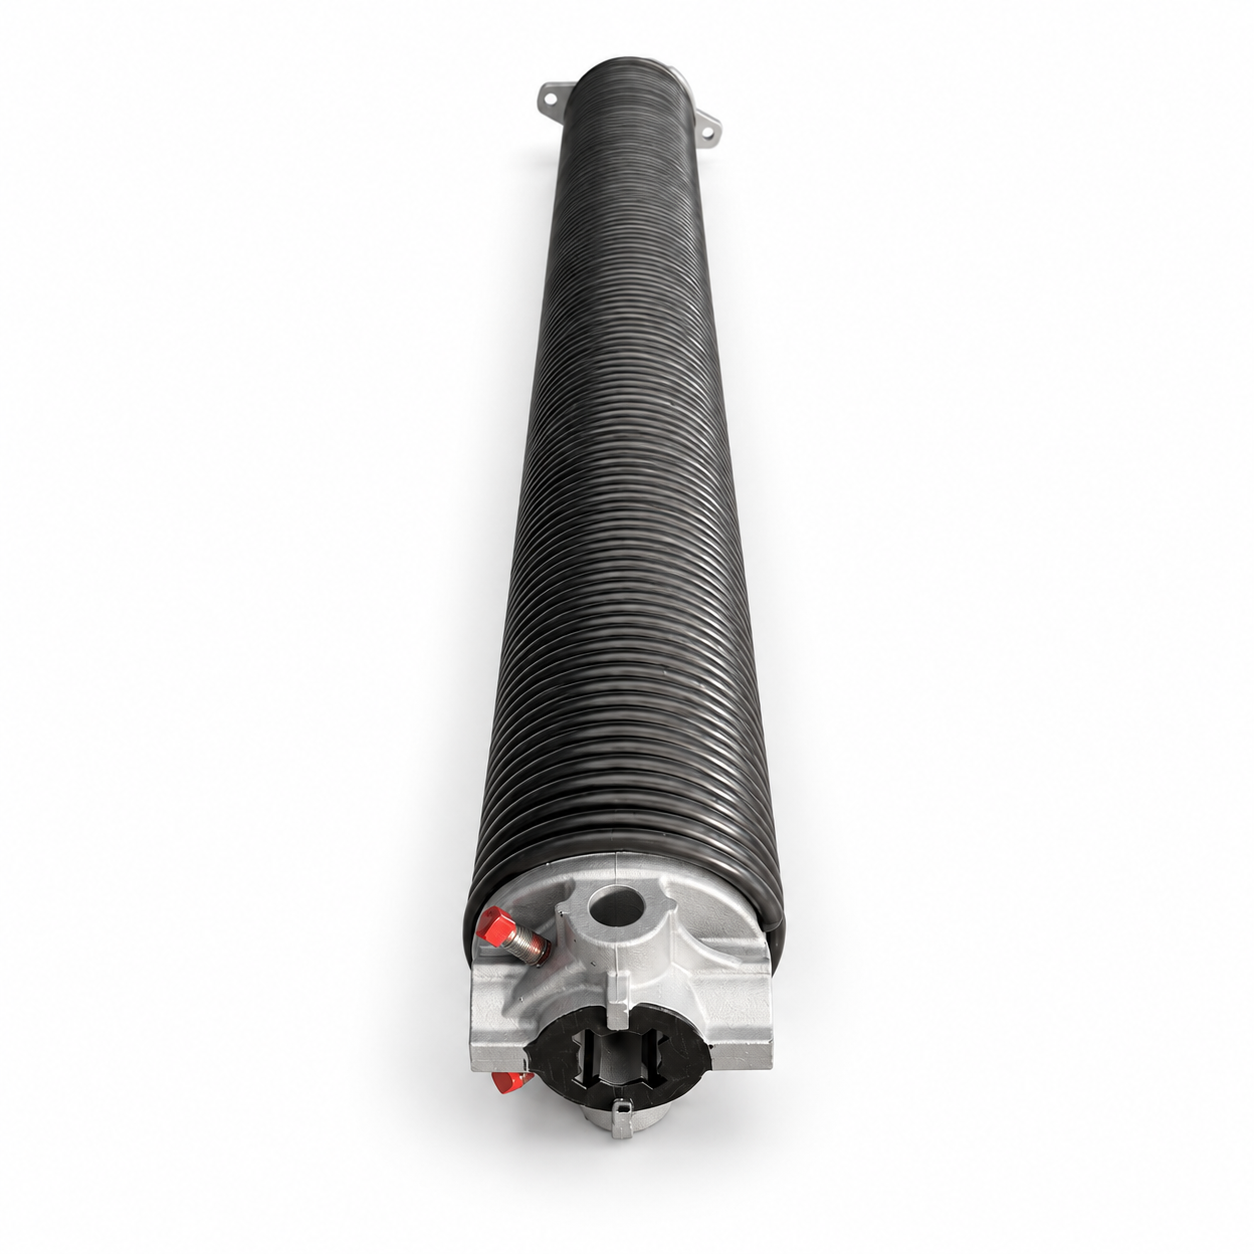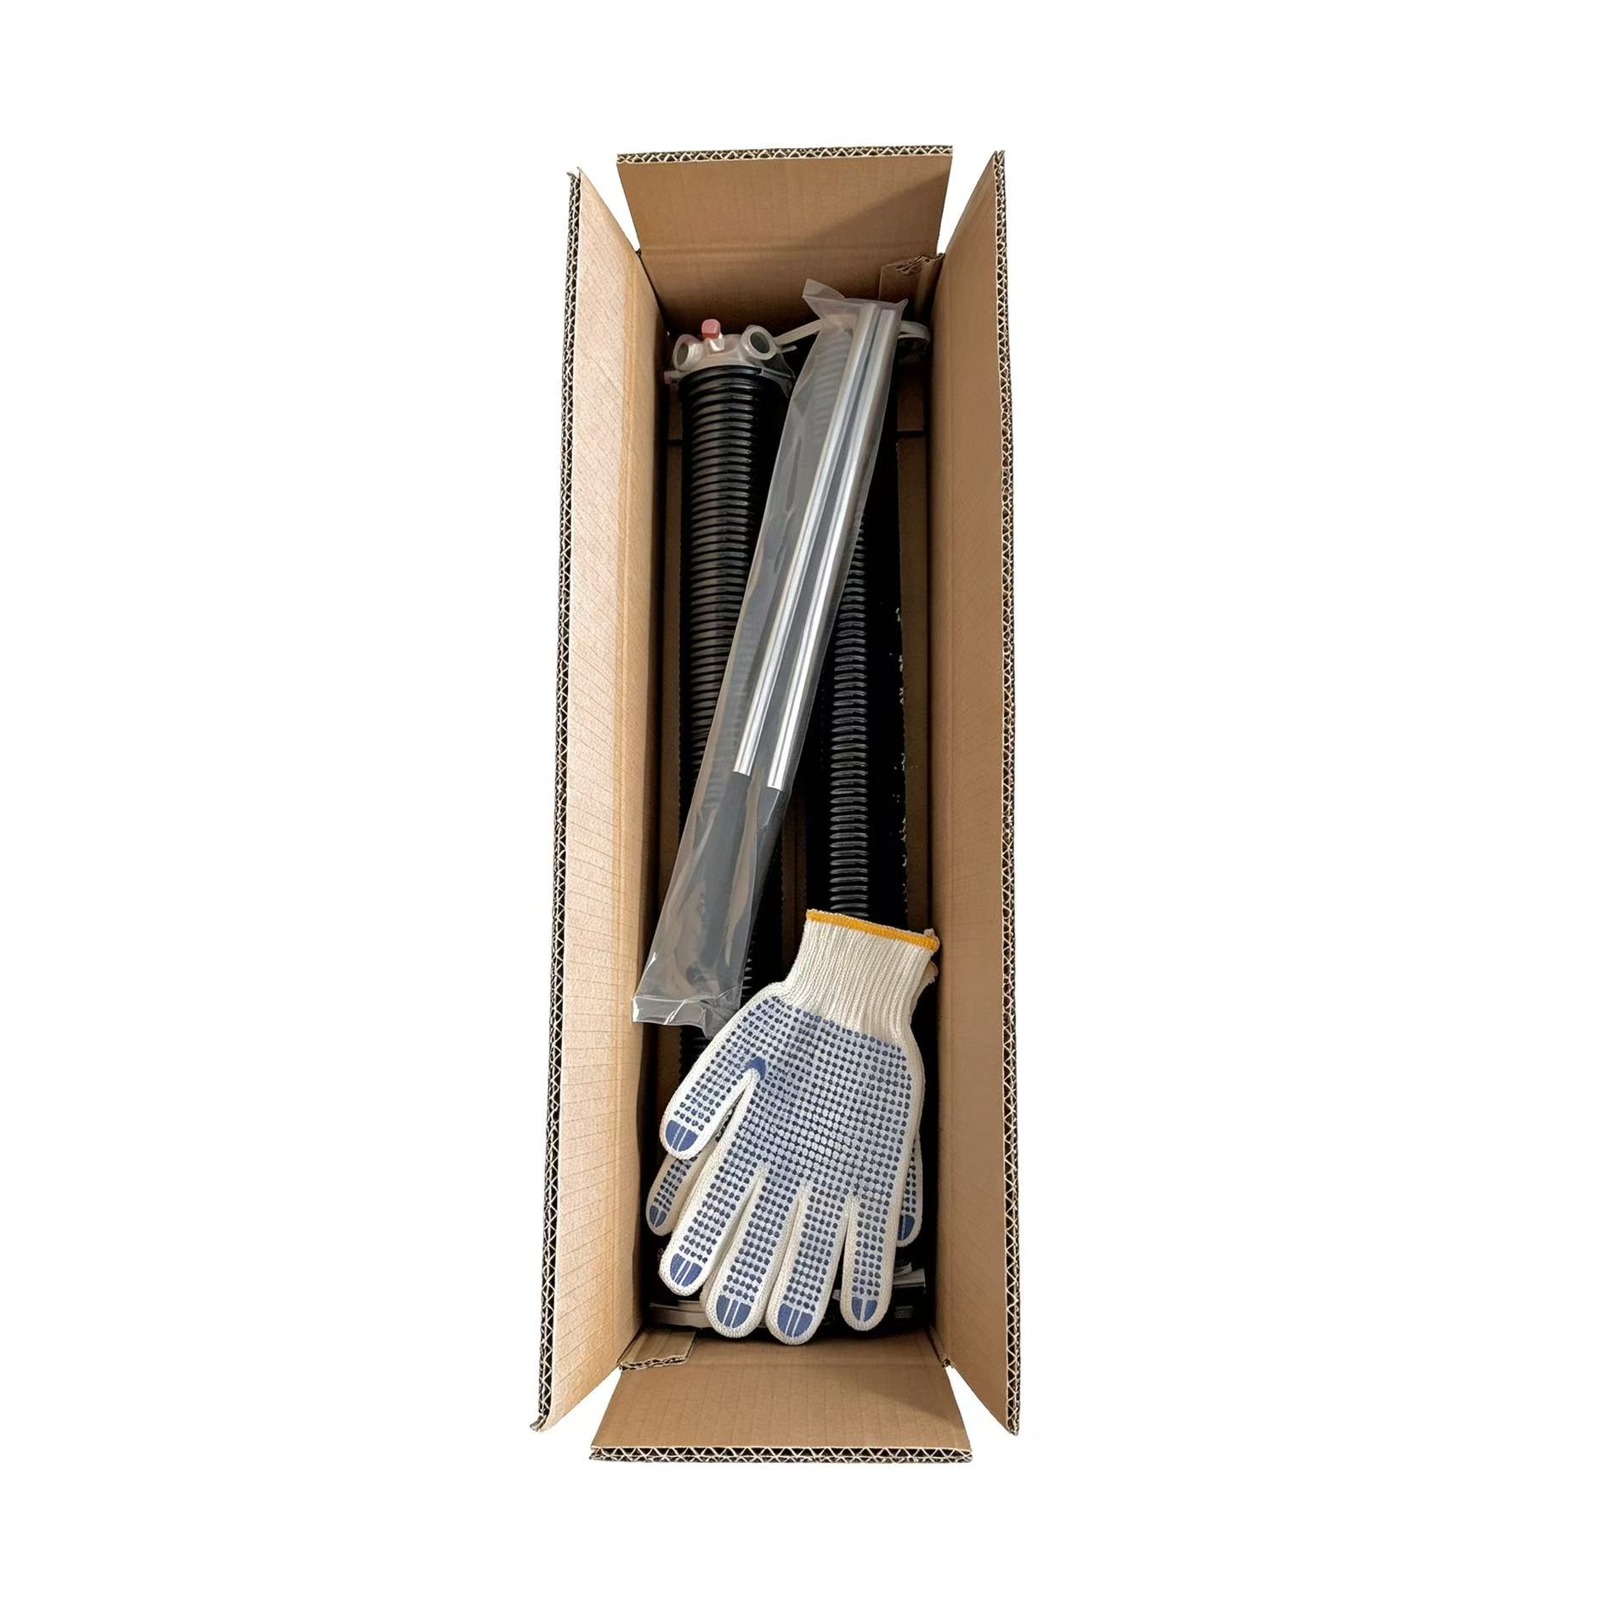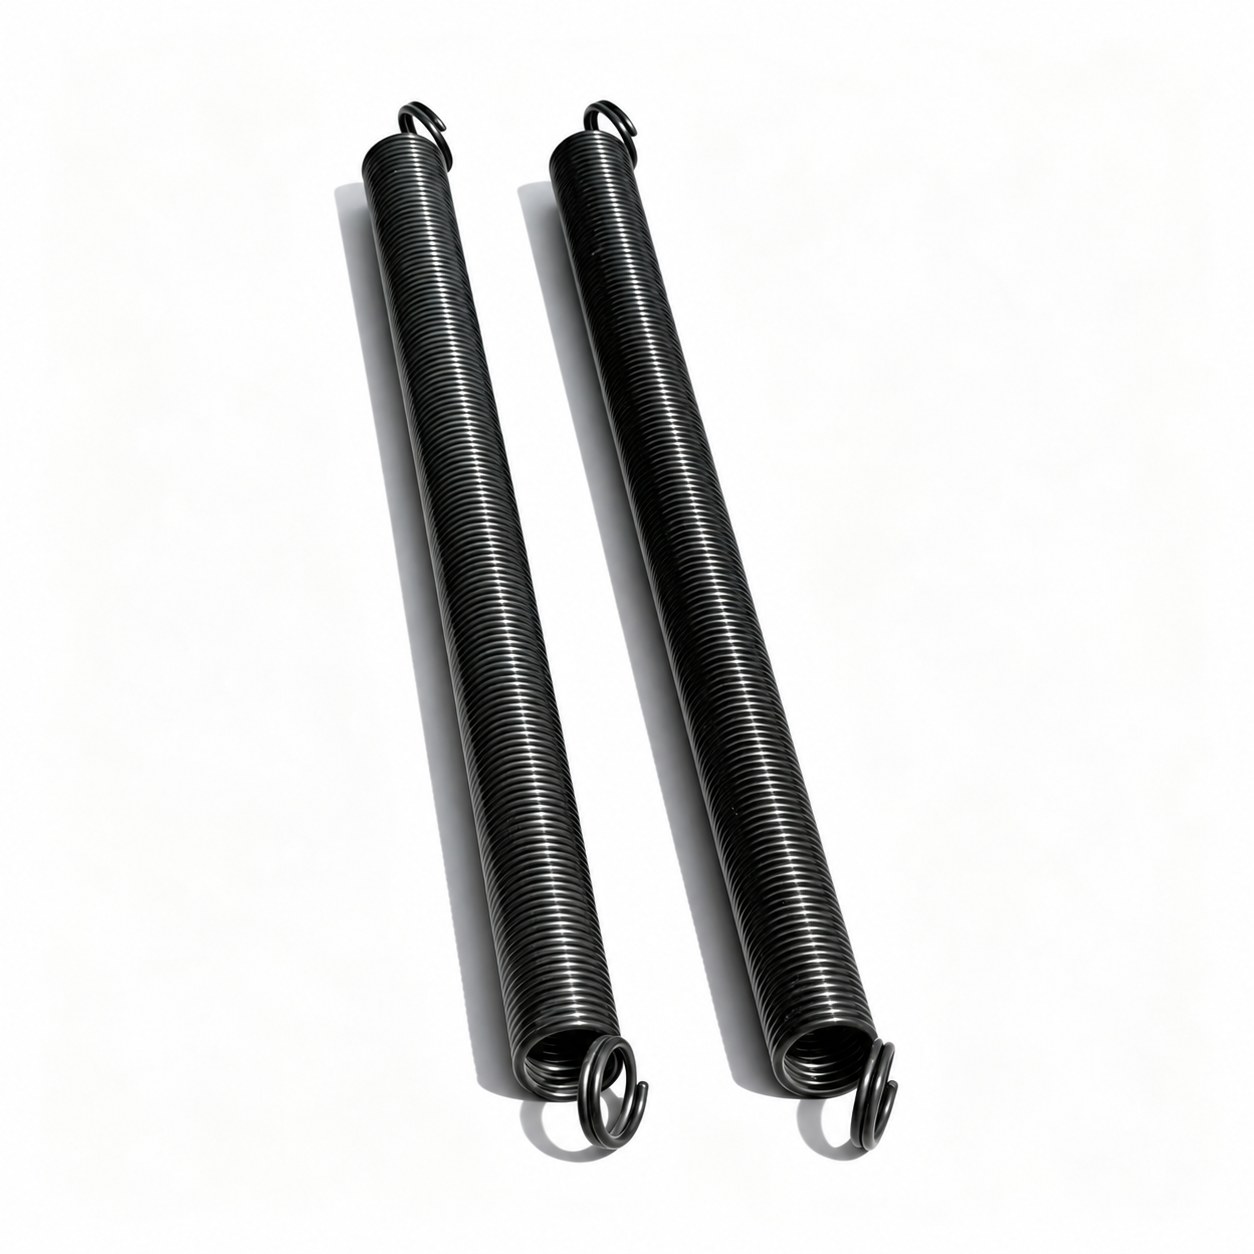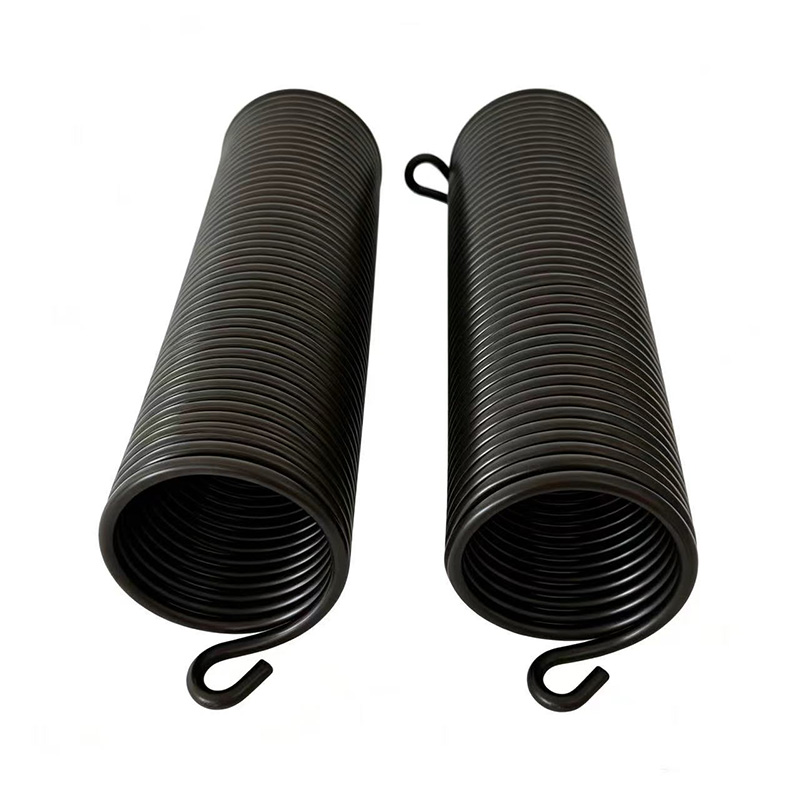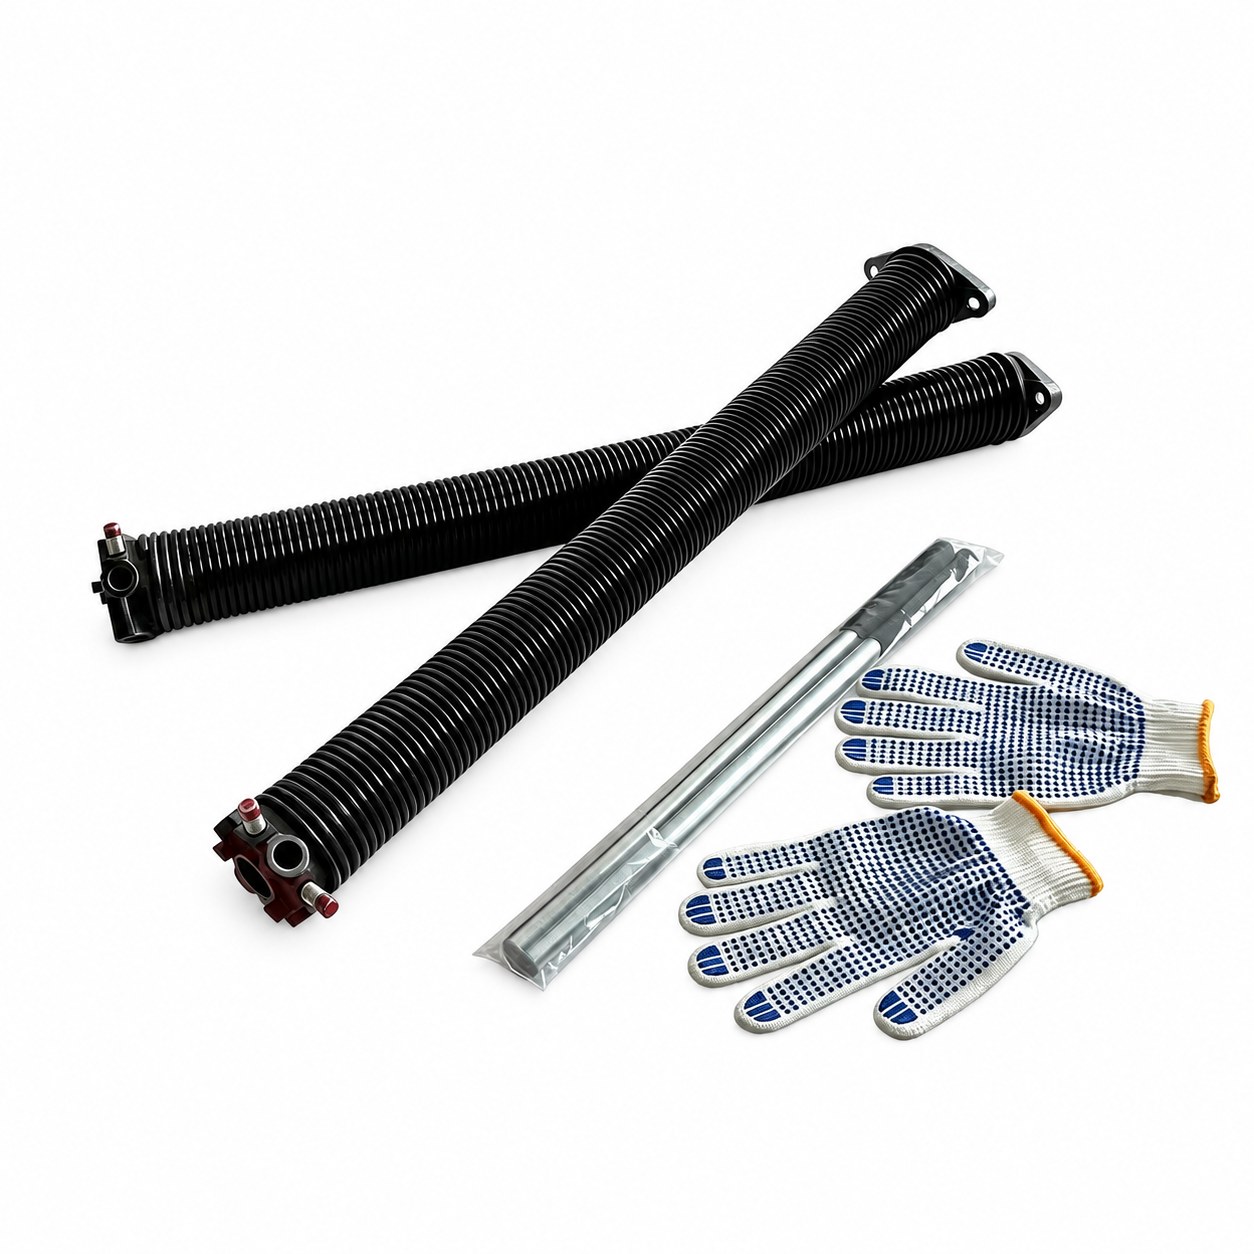
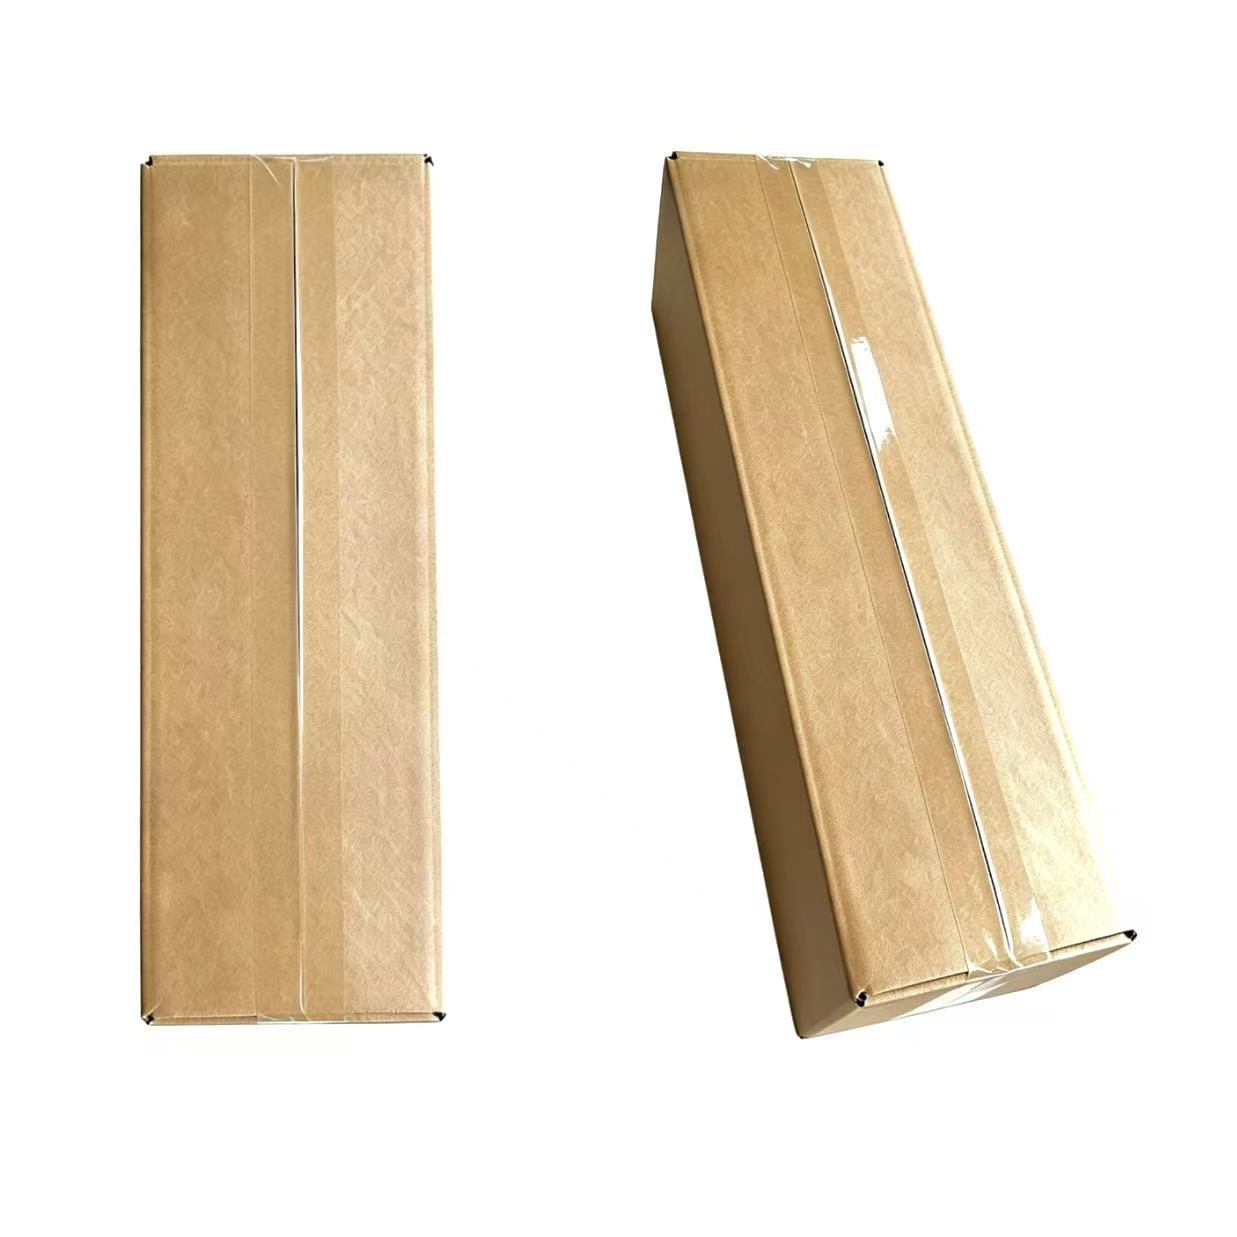
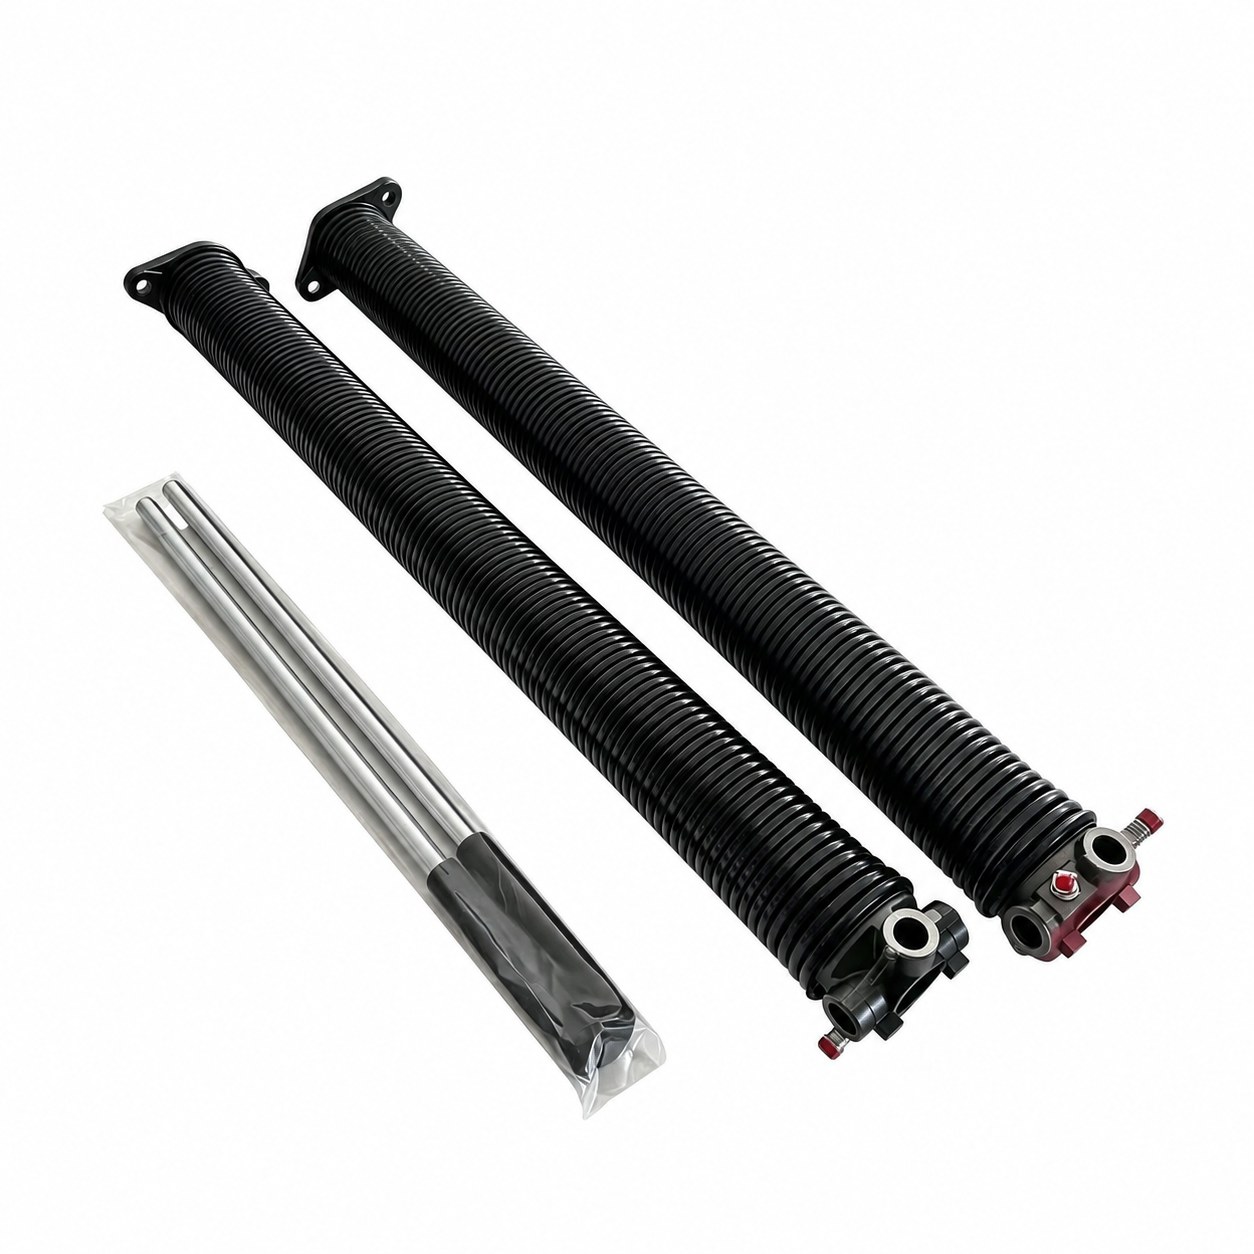
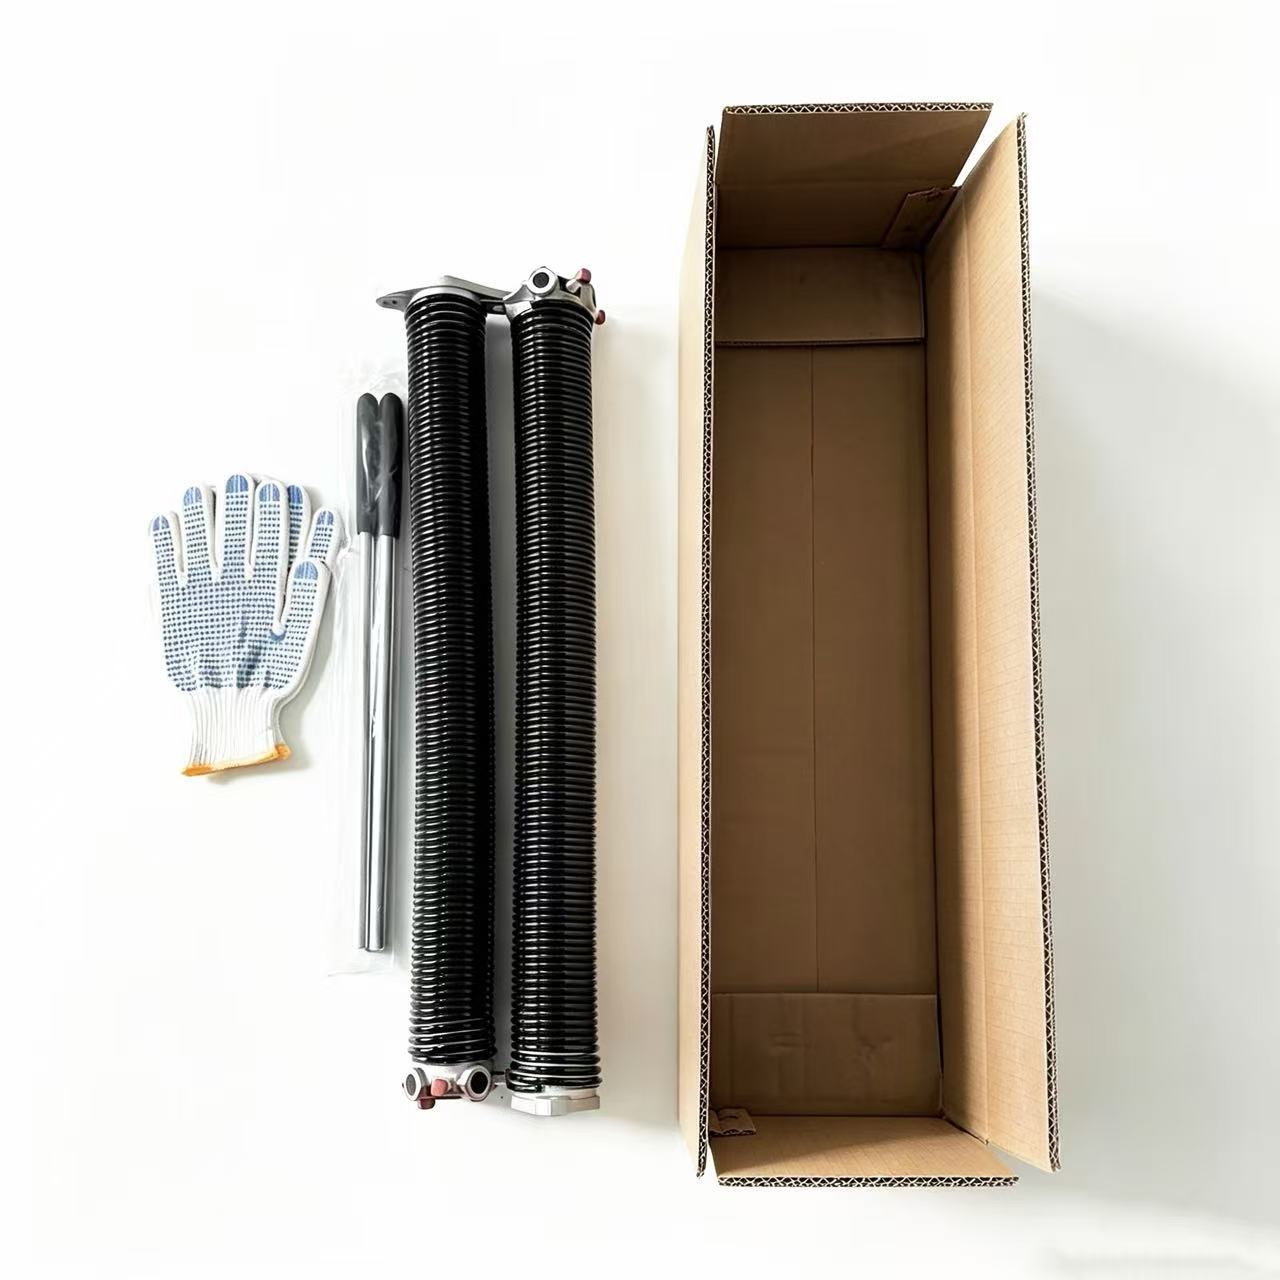
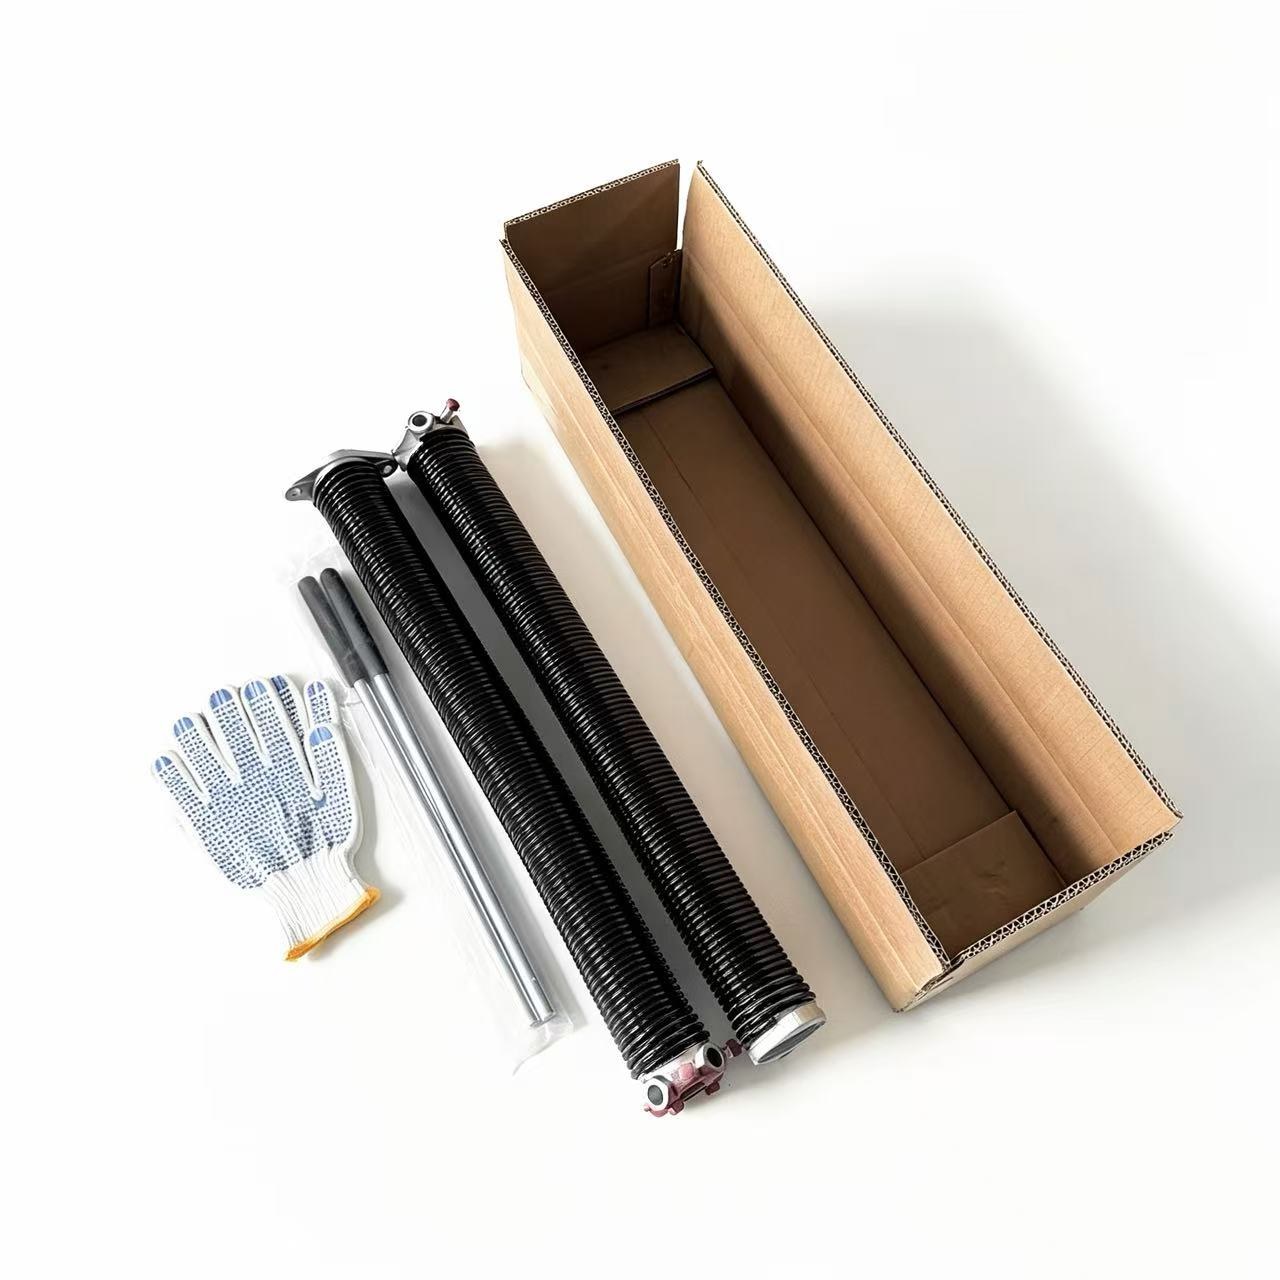
Matched garage door torsion spring kit for residential and light commercial replacement and installation. Kit contents include left-hand and right-hand black e-coated torsion springs, winding bars and work gloves. Confirm wire size, inside diameter, spring body length and winding direction before ordering. Each kit is packed in a carton; consolidated export orders can be packed in wooden crates or on fumigation-free plywood pallets.
A matched replacement and installation kit for residential and light commercial garage doors. The kit includes left-hand and right-hand black electrophoretic-coated torsion springs, winding bars and work gloves.
Confirm wire size, inside diameter, spring body length, winding direction and order quantity before production. Each kit is packed in a carton; consolidated export orders can use wooden crates or fumigation-free plywood pallets. Send drawings or approved specifications to Sunny at sunny@vts-spring.com or call +86 186 0226 1013.
| Kit contents | One matched left-hand and right-hand torsion spring pair, two winding bars and one pair of work gloves |
| Wire size | 0.207–0.295 in |
| Inside diameter | 1 3/4 in or 2 in |
| Spring body length | Manufactured to the approved door specification |
| Wind direction | Matched left-hand and right-hand pair |
| Material | 82B spring steel |
| Finish | Black electrophoretic coating |
| Design life | 15,000+ cycles under approved application conditions |
| Application | Residential and light commercial garage doors |
| Individual packing | Carton |
| Consolidated export packing | Wooden crate or fumigation-free plywood pallet |
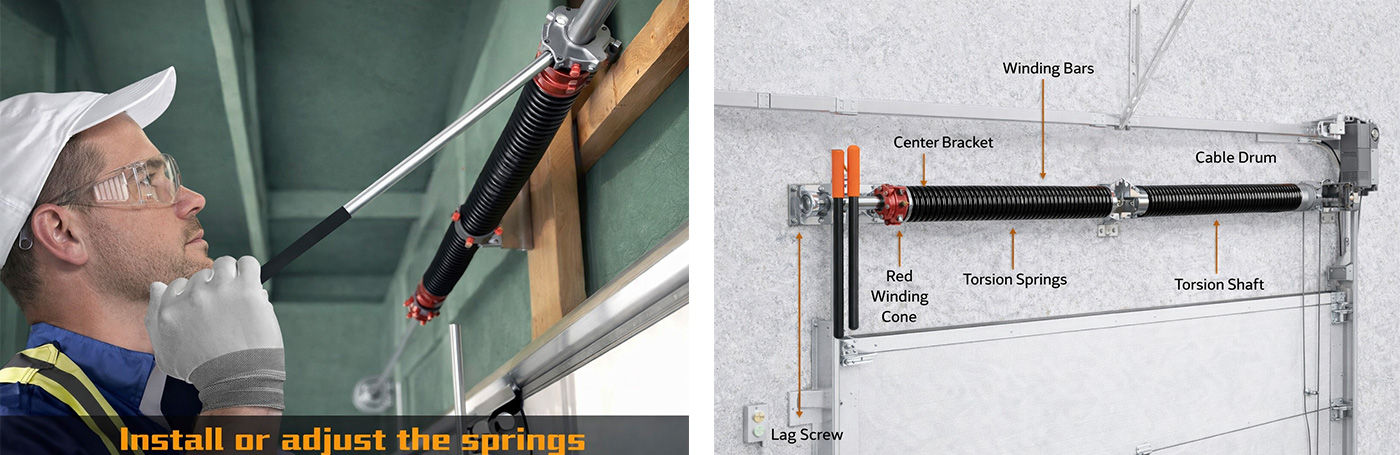
1 Preparation
(1) Wear protective gloves and safety goggles
(2) Inspect the torsion springs, winding bars, center bracket, and cable drum for any damage
(3) Ensure the door is fully closed and the tracks are clear
2 Install the Torsion Springs
(1) Mount the torsion springs onto the torsion shaft
(2) Secure both ends of the springs to the center bracket and end supports
(3) Ensure the spring direction matches the door winding direction
3 Install the Winding Bars
(1) Insert the winding bars into the red winding cones at both ends of the torsion springs
(2) Make sure the bars are firmly inserted and remain vertical
(3) Avoid direct contact with the steel coils of the springs
4 Adjust the Spring Tension
(1) Slowly rotate the winding bars and adjust the tension according to the door weight and balance
(2) Alternate adjustments on both ends to ensure smooth door operation
(3) Remove the winding bars safely after the adjustment is complete
5 Check the Cable Drum and Fasteners
(1) Ensure the cable drum is properly connected to the door panels
(2) Check that all screws and brackets (Lag Screw, Center Bracket) are tightened
(3) Manually test the door to ensure smooth operation
6 Safety Tips
(1) Torsion springs are under high tension; maintain a safe distance during operation
(2) Keep children and pets away from the door
(3) If you are not familiar with the procedure, contact a professional for installation or adjustment
For consolidated export orders, cartons can be secured in wooden crates or on fumigation-free plywood pallets according to shipment requirements.
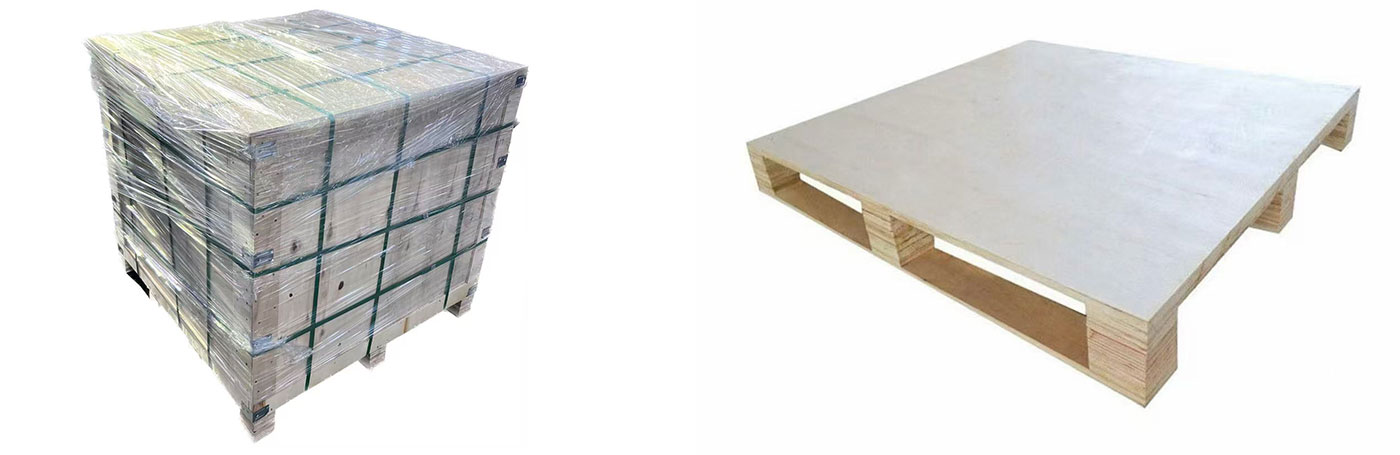
Wooden crate Fumigation-free plywood pallet
Send drawings or approved specifications to Sunny at sunny@vts-spring.com or call +86 186 0226 1013.
Our years of experience can assist in addressing a variety of spring issues.
 Let’s Discuss Your Custom Spring Needs
Contact person:Sunny
Email: sunny@vts-spring.com
WhatsApp: 84979731403
Address: No. 1688, Doi 16 Street, Thanh Phuoc Industrial Cluster, Cay Cham Quarter, Tan Khanh Ward, Ho Chi Minh City, Vietnam